
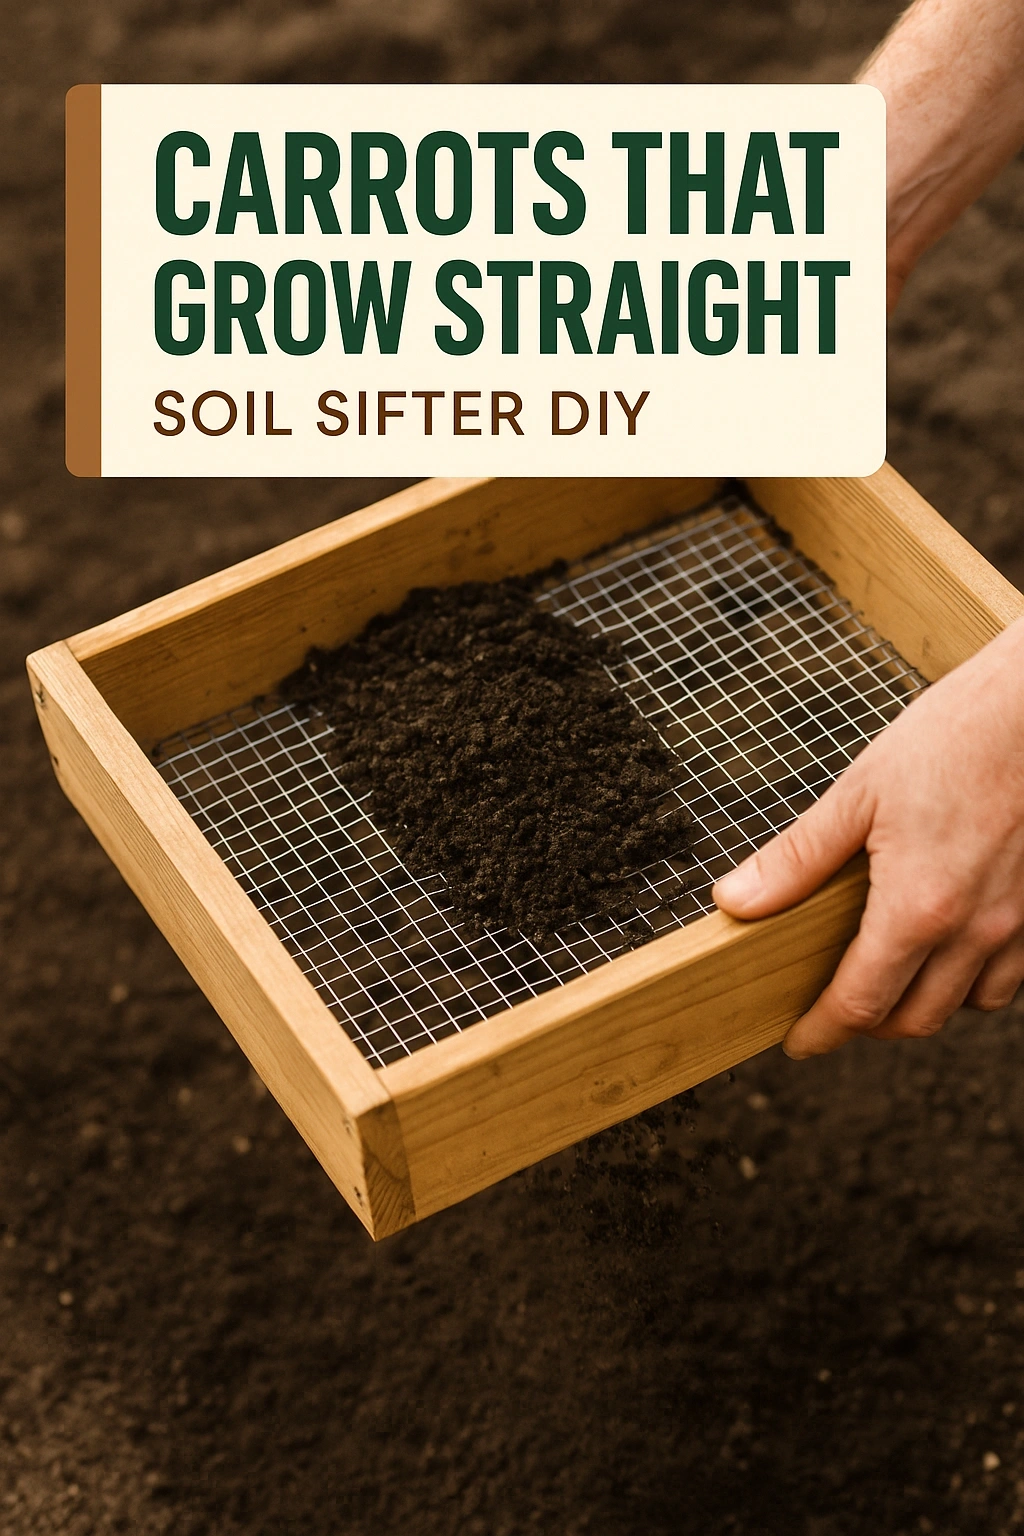
If you dream of growing perfectly straight carrots in your garden, a DIY soil sifter can be an invaluable tool. This simple yet effective device helps create optimal growing conditions by ensuring your soil is free of rocks, debris, and large clumps, allowing carrots to develop their roots without obstruction. In this article, we will guide you through the process of building a soil sifter and provide tips for growing straight carrots.
Understanding the Importance of Soil Quality
Soil quality plays a crucial role in the growth and development of carrots. Carrots thrive in loose, well-aerated soil that allows their roots to grow straight and deep. Compacted or rocky soil can lead to forked or stunted carrots, making them less appealing and harder to harvest. By using a soil sifter, you can improve the structure of your garden soil, ensuring your carrots grow to their full potential.
Materials Needed for Your DIY Soil Sifter
Building a soil sifter is a straightforward project that requires minimal materials. Here’s a list of what you’ll need:
- Wooden Frame: Use 1×4 or 2×4 lumber for durability.
- Wire Mesh: A quarter-inch hardware cloth works best for sifting soil.
- Wood Screws: To assemble the frame.
- Drill: For creating pilot holes and driving screws.
- Saw: To cut the lumber to size.
- Measuring Tape: Ensuring accurate dimensions.
- Sandpaper: For smoothing any rough edges.
Choosing the Right Size for Your Sifter
The size of your soil sifter will depend on the amount of soil you plan to sift and the available space in your garden. A standard size is about 3 feet long by 2 feet wide, which can handle a decent amount of soil without being too cumbersome. Adjust the dimensions based on your specific needs and preferences.
Step-by-Step Guide to Building Your Soil Sifter
Follow these steps to create a functional and effective soil sifter:
- Cut the Lumber: Measure and cut the wooden boards for the frame. You will need two long pieces for the sides and two shorter pieces for the ends.
- Assemble the Frame: Use wood screws to attach the pieces together, forming a rectangular frame. Ensure it is sturdy and square.
- Attach the Wire Mesh: Cut the wire mesh to fit over the top of the frame. Secure it in place with more screws, ensuring there are no sharp edges exposed.
- Smooth the Edges: Use sandpaper to smooth any rough edges on the frame to prevent injury while using the sifter.
- Test the Sifter: Once assembled, test it by sifting a small amount of soil to ensure it works effectively.
Tips for Using Your Soil Sifter
To use your soil sifter effectively, follow these tips:
- Work in Sections: Sift soil in small batches to avoid overwhelming the sifter.
- Use a Shoveling Motion: Pour soil onto the mesh and gently shake or tap the frame to encourage the soil to fall through.
- Remove Debris: Regularly check for and remove larger rocks and debris that accumulate on top.
Preparing Your Soil for Carrots
Once you have your soil sifter ready, it’s time to prepare the soil for planting carrots. Carrots prefer sandy loam soil that is rich in organic matter. Here’s how to prepare your soil:
- Clear the Area: Remove all weeds, grass, and debris from the planting area.
- Loosen the Soil: Use a tiller or garden fork to loosen the soil to a depth of at least 12 inches.
- Add Organic Matter: Incorporate compost or well-rotted manure to improve soil fertility and structure.
Testing Soil pH
Carrots prefer a soil pH of 6.0 to 6.8. You can test your soil pH using a home testing kit. If your soil is too acidic, you can add lime to raise the pH. Conversely, if it is too alkaline, sulfur can help lower it.
Planting Carrots for Straight Growth
With your prepared soil, you are ready to plant your carrots. Follow these guidelines for the best results:
- Choose the Right Variety: Varieties like ‘Danvers’ and ‘Nantes’ are known for their straight growth.
- Plant at the Right Depth: Sow seeds about 1/4 to 1/2 inch deep, spacing them approximately 2 inches apart.
- Water Gently: Use a light spray to avoid displacing the seeds and keep the soil consistently moist.
Thinning Seedlings for Optimal Growth
Once the seedlings emerge, thin them to ensure they have enough room to grow. Aim for about 3 inches between each plant, which allows them to develop straight roots without competition for nutrients and space.
Maintaining Your Carrot Crop
Proper maintenance is crucial for growing straight carrots. Here are some essential care tips:
- Regular Watering: Carrots need consistent moisture, especially during dry spells. Water them deeply but infrequently to encourage deep root growth.
- Weed Control: Keep the planting area free from weeds, which can compete with your carrots for nutrients and water.
- Pest Monitoring: Watch for pests such as carrot flies. Use row covers to protect young plants from infestations.
Harvesting Carrots at the Right Time
Harvest your carrots when they are large enough to eat, usually around 60 to 80 days after planting, depending on the variety. Gently loosen the soil around the carrots with a spade or fork before pulling them out to avoid breaking the roots.
FAQs
What type of soil is best for growing straight carrots?
Loose, sandy loam soil that is free of rocks and debris is ideal for growing straight carrots. This type of soil allows the roots to grow freely and prevents deformities.
How deep should I sift the soil for carrots?
It is recommended to sift the soil to a depth of at least 12 inches to ensure that any compacted layers and debris are removed, promoting healthy root growth.
Can I use a soil sifter for other vegetables?
Yes, a soil sifter can be used for various vegetables that prefer loose, well-drained soil, including beets, radishes, and parsnips.
How often should I water my carrot plants?
Carrots require consistent moisture, so water them deeply about once a week, or more often during dry spells, ensuring the soil remains moist but not waterlogged.
When is the best time to harvest carrots?
Carrots can typically be harvested 60 to 80 days after planting, depending on the variety. Harvest them when they are of a good size and before they become too woody.