
Imagine having an endless supply of fresh basil right from your kitchen. With proper techniques in water propagation, you can grow basil cuttings into thriving plants in just seven days. This guide provides you with comprehensive steps to ensure successful propagation, allowing you to enjoy the aromatic and culinary benefits of basil without the need for seeds or soil. Dive into the world of basil water propagation and elevate your gardening skills while enhancing your culinary adventures.
Understanding Basil and Its Varieties
Basil is not just a fragrant herb; it is a staple in many cuisines around the world. Common varieties include Sweet Basil, Thai Basil, and Genovese Basil. Each type has its unique flavor profile and culinary uses. Sweet Basil is popular in Italian dishes, while Thai Basil is essential in Southeast Asian cuisine. Understanding these varieties can help you choose the right basil for your propagation project.
Why Choose Water Propagation?
Water propagation is a simple and effective method to grow basil from cuttings. This technique requires minimal resources and allows you to monitor the growth of your plants easily. By propagating basil in water, you can encourage faster root development, leading to healthier plants. Additionally, this method is particularly suited for beginners who may not have experience with soil propagation.
Materials Needed for Propagation
Before you start the propagation process, gather the following materials to ensure a smooth experience:
- Basil Cuttings: Select healthy stems from an existing basil plant.
- Glass Jar or Vase: A clear container will allow you to observe root growth.
- Clean Water: Use filtered or distilled water to avoid chlorine and impurities.
- Sunlight Source: A bright, indirect light location is ideal for growth.
- Scissors or Sharp Knife: For cutting the basil stems cleanly.
Choosing the Right Basil Cuttings
When selecting basil cuttings, look for healthy stems that are at least 4-6 inches long. Ensure the cuttings have several leaves and are free from pests or diseases. It’s best to take cuttings from the top of the plant, as these tend to be more vigorous. Cutting below a node will encourage root growth from that point.
Step-by-Step Guide to Propagation
Follow these straightforward steps to propagate your basil cuttings in just seven days:
Step 1: Preparing the Cuttings
Using scissors or a sharp knife, make a clean cut just below a leaf node. Remove any leaves from the bottom half of the cutting. This prevents the leaves from rotting in the water and allows the energy to focus on root development.
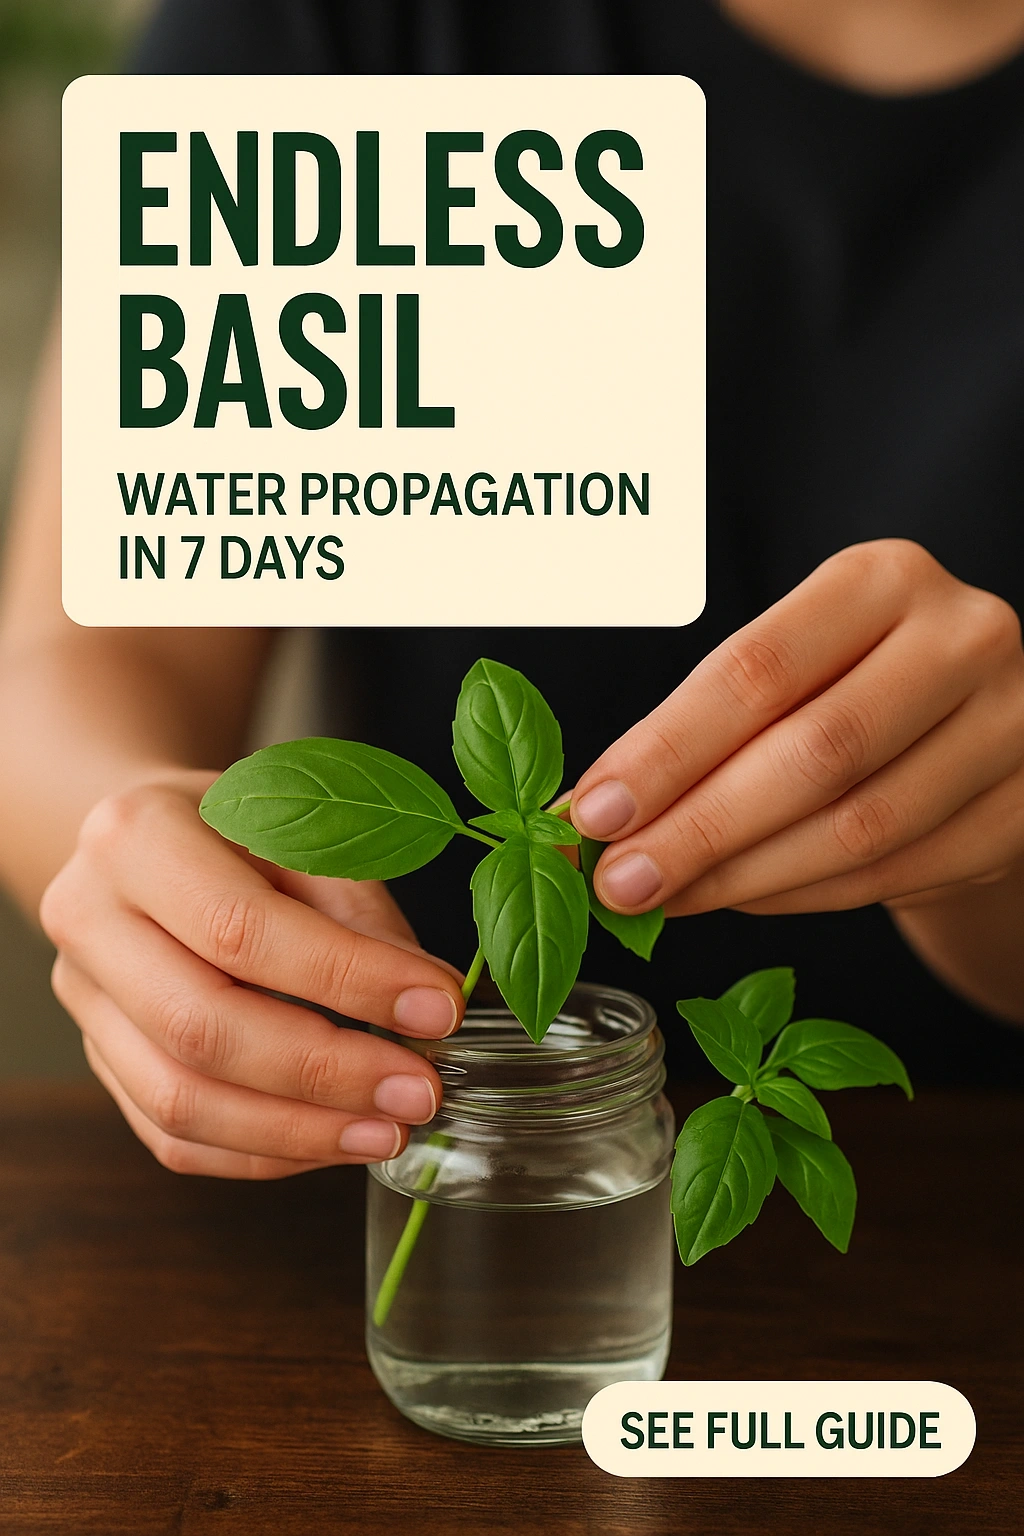
Step 2: Placing Cuttings in Water
Fill your glass jar or vase with clean, filtered water. Place the basil cuttings in the water, ensuring that the nodes are submerged while the leaves remain above water. This setup provides the necessary moisture for rooting without risking rot.
Step 3: Providing Adequate Light
Position your jar in a location that receives bright, indirect sunlight. Too much direct sunlight can cause the water to heat up, while insufficient light can hinder root growth. A windowsill that gets morning sun is often ideal.
Step 4: Maintaining Water Quality
Change the water every few days to keep it fresh and oxygenated. This helps prevent bacterial growth and promotes healthy root development. Always use clean water to refill the jar.
Step 5: Observing Root Growth
Within a week, you should start to see tiny roots emerging from the nodes. It’s essential to monitor the growth daily. Healthy roots will look white and firm, indicating that your cuttings are thriving.
Step 6: Transplanting to Soil (Optional)
Once the roots are about 2-3 inches long, you can choose to transplant the basil cuttings into soil. If you prefer to keep them in water, they can continue to grow, but transferring them to soil can yield a more robust plant.
Step 7: Caring for Your New Basil Plants
If you opt to transplant, use a well-draining potting mix and a pot with drainage holes. Water the soil thoroughly and place the pot in a sunny location. Continue to care for your basil by ensuring it receives adequate moisture and light.
Common Issues and Solutions
While propagating basil in water is generally straightforward, you may encounter some common issues. Here are a few troubleshooting tips:
Problem: Leaves Turning Yellow
Yellowing leaves may indicate overexposure to sunlight or nutrient deficiency. Ensure your basil cuttings are receiving the right amount of light and consider using a diluted liquid fertilizer when transplanting to soil.
Problem: Root Rot
If you notice a foul smell or brown, mushy roots, this is a sign of root rot. To prevent this, ensure you are changing the water regularly and using clean containers. If the rot occurs, trim away the affected roots and place the cutting in fresh water.
FAQs About Basil Water Propagation
How long does it take for basil cuttings to root in water?
Typically, basil cuttings will begin to root within 5 to 7 days when placed in water under the right conditions.
Can I propagate basil from store-bought herbs?
Yes, you can propagate basil from store-bought herbs, provided they are fresh and healthy. Look for stems that have not yet flowered for the best results.
What type of water is best for basil propagation?
Using filtered or distilled water is ideal for basil propagation, as it avoids the chemicals found in tap water that can impede root growth.
Can I propagate multiple cuttings in one container?
Yes, you can propagate multiple cuttings in one container as long as they are spaced adequately to avoid overcrowding and ensure each cutting has enough access to light and water.
Should I use rooting hormone for basil propagation?
Using rooting hormone is not necessary for basil propagation in water. Basil typically roots well on its own without additional stimulants.
Conclusion
Water propagation of basil is a rewarding and simple process that can be completed in just a week. By following the steps outlined in this guide, you can enjoy a continuous supply of fresh basil for your culinary needs. Whether you choose to keep your basil in water or transplant it into soil, the satisfaction of growing your own herbs is unparalleled. Start your propagation journey today and experience the joys of gardening firsthand.